
Getting Started with PCM
Getting started with PCM
Installing PCM
- Start by downloading the PCM Installer file. Left click on the link and then save the file to your downloads folder.
- Next, open the PCM installer file by double clicking on it.
- You should see a screen like this one.
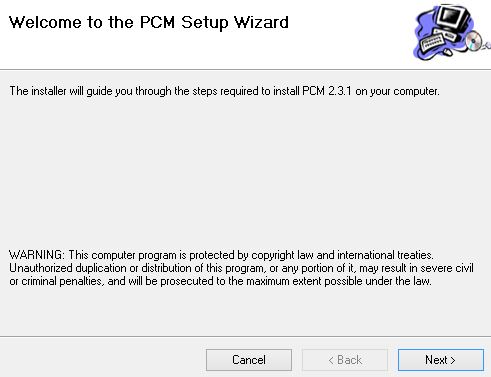
- If so, click the next button three times.
- A warning message may appear; that is normal. Click "Yes".
- PCM is now installed! Click close.
Installing Cable Drivers
- If you have a new ECM Interface cable, drivers need to be installed. If you already have the cable and its drivers, please skip this section.
- Drivers for your new cable can be found at this link. Left click and save the file like you did for the PCM installer.
- Once you have the file downloaded, right-click on it and extract/unzip the files to the folder of your choosing.

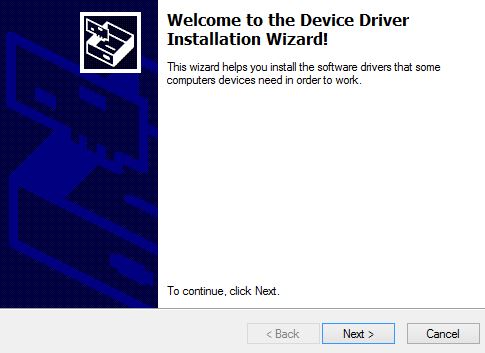
- Open the extracted folder and double click the Setup file.

- Double clicking the Setup file will bring up this window, from there you can install the drivers.
- Follow the prompts to install the drivers.
Installing Supporting files
- Finally, you will need the supporting files that are listed on the page that took you here. Left click on that link and save it to downloads as well.
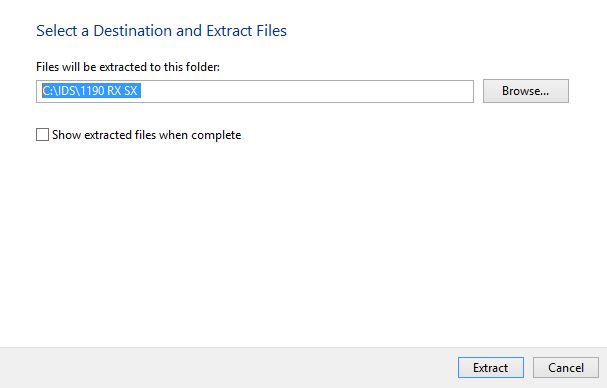
- After the files have downloaded, right click on the supporting files zip file and select extract all

- Copy and paste the following into the box that appears: C:\IDS\ <your motorcycle name here>
- Click "Extract"
- PCM is now ready to use!
The next step is to tune! Go back to your downloads page to get details on tuning with PCM.